Modify the Existing Report Layout in D365 BC:
(1) In this blog, we will get to know about the changes done to the existing report layout. Sometimes clients required some changes in the existing report (adding a new field, changes in format, etc.).
(2) For adding new fields in the report, follow this link “New Fields add in Report using Extension in D365 BC“.
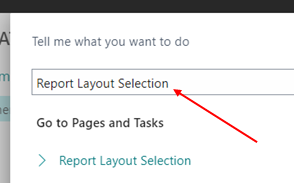
(3) After that, open the Business Central D365 and go to the “Report Layout Selection” page, as shown.
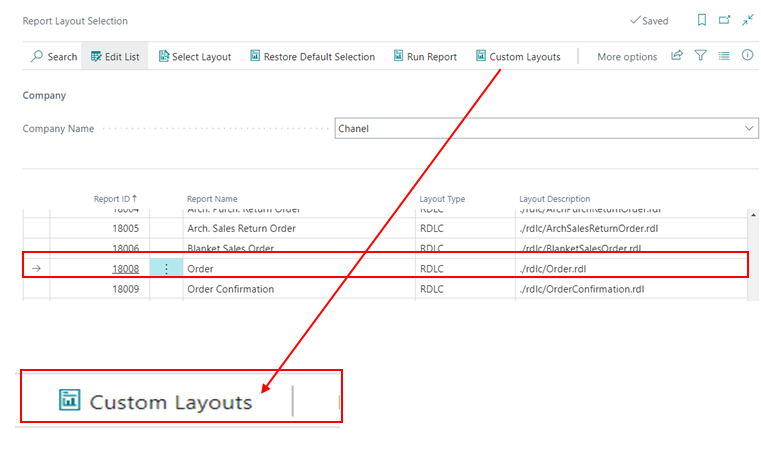
(4) After opening the page, select layout from the list and then choose “Custom Layouts”, as shown.
(5) Now the “Custom Layouts” page opens and press “New” → “New”, as shown.

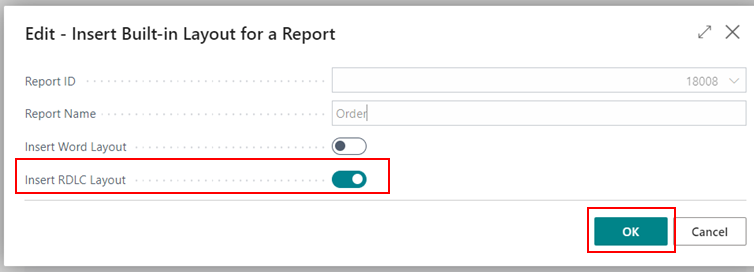
(6) After that request window opens and enables the “Insert RDLC Layout”. Note: if you want to do changes to the word layout then choose the option “Insert Word Layout”, as shown.
(7) Now the copy of the selected layout is inserted, as shown.

(8) After that go to Layout → Export Layout, as shown.
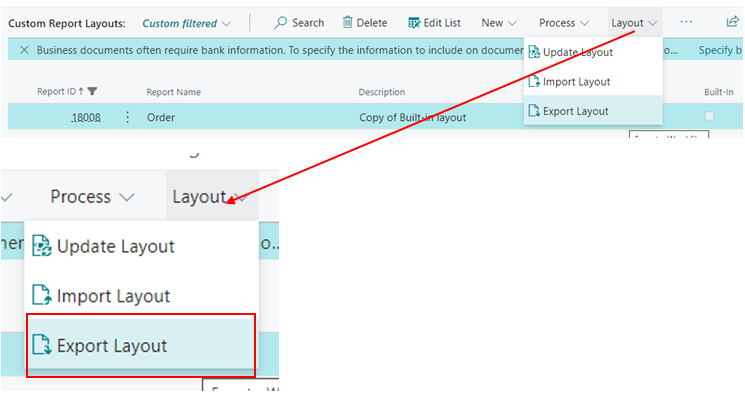
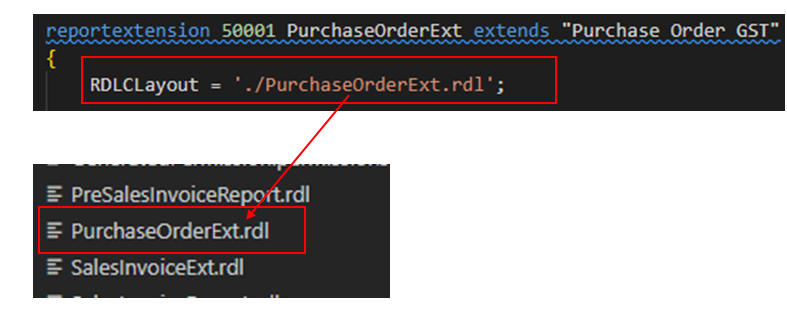
(9) Selected Layout downloads, copy the file and paste it into the AL project folder, according to the Report Extension “RDLCLayout”, as shown.
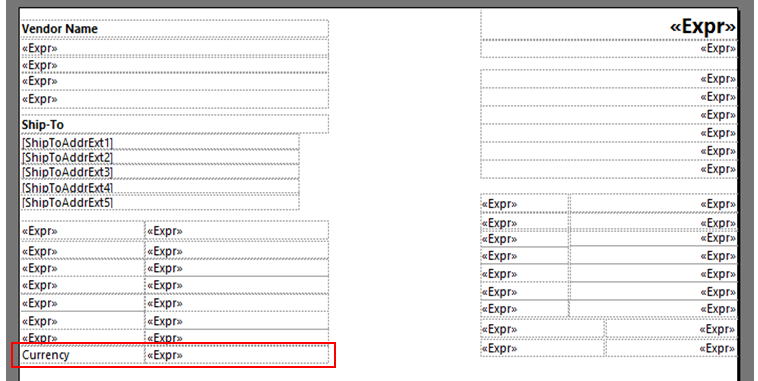
(10) Now open the layout in the report builder and do the changes accordingly, as shown.
(11) After doing that, publish the report and go to the BC D365 and open the “Report Layout Selection” page and select “Custom Layout”. Refer the step 4. And then on the “Custom Layout” page go to the Layout → Import Layout, as shown.

(12) After that choose the layout and import it, as shown.

(13) After importing the new layout, go to the Report Layouts page, as shown

(14) After doing the above step, the List opens, and select the report from that list set its new layout, as shown. Note: You will notice that new layout lines are also shown with the same report id.

(15) Select the new layout and press button “Set Default” button, as shown.
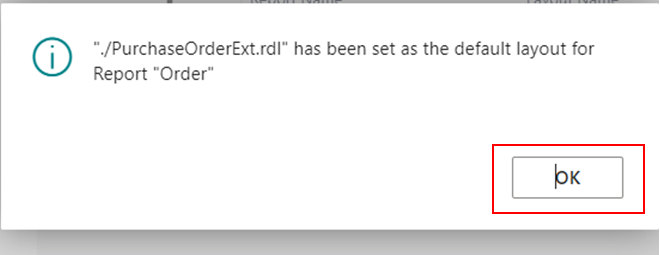
(16) After this opens, run the report and see the result. As shown.
