Setup Sandbox Environment in D365 BC:
(1) In this blog, we will see the setup and use of “Sandbox Environment” in Business Central D365.
(2) Sandbox Environment is called “Non-Production Environment”. Basically, it is used as a testing environment where we do test, troubleshoot or create scenarios without disturbing the production environment.
(3) The Premium and Essential subscription types give each Business Central customer one production environment and three sandbox environments free of extra charge. If the customer requires more production environments, they can buy additional environments through their CSP partner.
(4) Now let’s see Sandbox Environment setup creation steps (Note: “Sandbox Environment“ feature is available only in SAAS version of D365 BC).
(5) Open Business Central and type “Sandbox Environment” in the search bar, as shown.

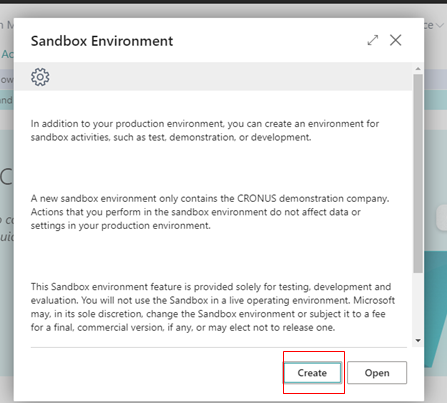
(6) After selecting “Sandbox Environment”, a new window opens and press the “Create” button for creating the testing environment, as shown. (Note: If you have created “Sandbox Environment”, then you can press the “Open” button).

(7) After that, the system creates the “Sandbox Environment”, as shown.

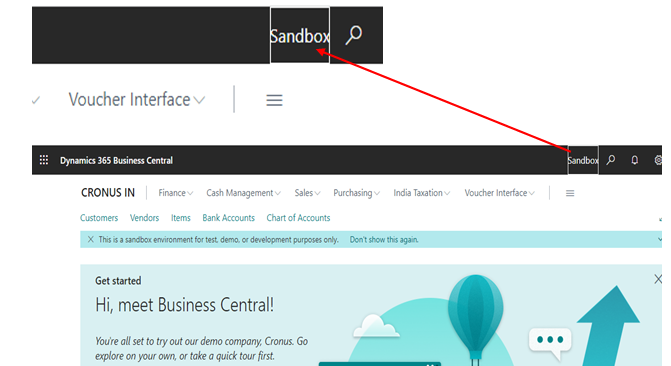
(8) After finishing setup, New Business Central D365 environment opens with highlighting “Sandbox”, as shown.


